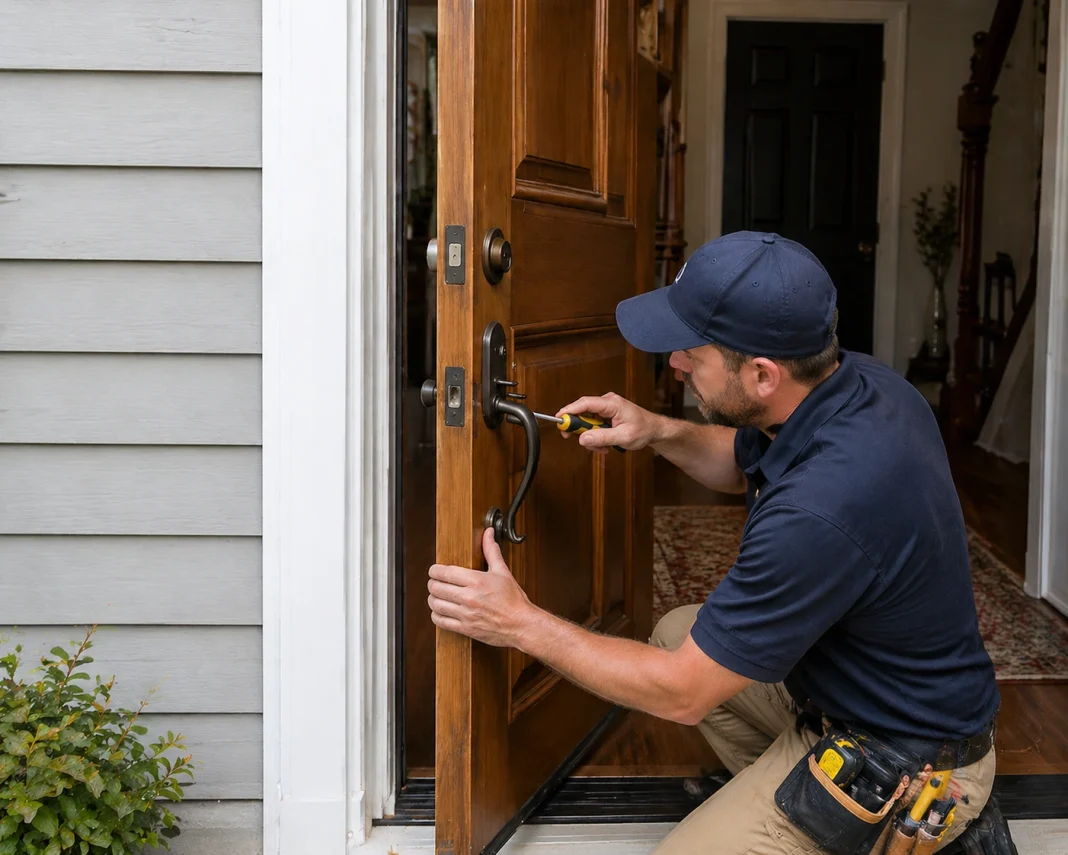

As winter approaches, homeowners naturally turn their attention to heating systems, thick insulation, and storm preparations. However, one of the most significant source points for seasonal heat loss sits right at your front entry. A single unsealed gap around an exterior door can let in as much cold air as an open window, driving up utility expenses and forcing HVAC units to work double-time.
Updating weatherstripping is one of the most effective, low-cost maintenance tasks you can complete to winterize your home. By sealing perimeter air leaks, dampening outdoor noise, and stopping moisture intrusion, proper door weatherization protects your building envelope while keeping interior living spaces warm and draft-free all season long.
Identifying Drafts and Hidden Energy Leaks
Before purchasing new sealing materials, you must determine precisely where your entry assembly is failing. Air leaks around exterior doors typically occur along the side jambs, top header, or threshold, but invisible gaps often go unnoticed until temperature drops become extreme.
A quick visual inspection from inside your entryway during daylight hours offers immediate feedback. Close the door fully and look around the perimeter frame. If daylight shines through any section between the door slab and jamb, your weather seals are severely compromised.
For more subtle air movement, perform a simple paper test. Place a sheet of paper between the door slab and frame, then latch the door shut. Attempt to slide the paper out; if it pulls out easily without tear resistance, the perimeter compression seal is missing or flattened. Alternatively, holding a lit candle or incense stick near the interior frame on a windy day reveals hidden drafts when the flame or smoke flickers horizontally.
Choosing the Right Weatherstripping Material
Selecting the appropriate weatherstripping product depends on the gap width, door material, traffic volume, and local climate severity. Exterior entryways require durable materials capable of surviving thousands of compressions while resisting freezing temperatures and moisture accumulation.
Foam Tape
Closed-cell foam tape features a self-adhesive backing that adheres directly to the door stop moulding. While inexpensive and exceptionally easy to cut with household scissors, foam tape degrades rapidly under constant compression and exposure to damp winter air. It works well as a temporary fix for narrow gaps, but typically requires yearly replacement.
Tubular Vinyl and Rubber Gaskets
Tubular vinyl or EPDM rubber weatherstripping offers far superior elasticity and weather resistance compared to basic foam. These hollow tubes compress smoothly against the door edge when latched, forming a tight barrier against driving winds and moisture. Premium rubber seals remain flexible even in sub-zero temperatures, making them ideal for northern climates facing intense freeze-thaw cycles.
V-Strip (Tension Seals)
V-strips are durable plastic or metal strips folded into a V-shape. Installed inside the door track jamb, the strip springs outward to fill variable gaps between the frame and door edge. Bronze or stainless steel V-strips offer exceptional longevity, surviving decades of continuous use without losing tension or breaking down under UV exposure.
Reinforced Door Sweeps
Drafts originating at floor level require heavy-duty door sweeps mounted along the lower edge of the door leaf. Aluminum or rigid vinyl backing tracks fitted with thick neoprene or nylon brush inserts seal the space between the bottom door edge and the adjustable threshold plate, blocking wind-driven snow, rain, and cold air currents.
Step-by-Step Installation Process
Achieving a wind-tight seal requires careful preparation and precise execution. Improperly applied seals can make closing the door difficult, strain latch hardware, or peel away prematurely.
1. Strip and Clean the Frame
Remove all old, cracked, or flattened weatherstripping using a putty knife or scraper. Use fine sandpaper to remove residual adhesive, rust, or flaking paint from the frame stop. Wipe down the entire wooden or metal mounting surface with rubbing alcohol or a mild degreaser and allow it to dry thoroughly, ensuring new adhesives bond firmly.
2. Measure and Cut the Seals
Measure the top header jamb first, followed by the left and right side jambs. Transfer these measurements to your weatherstripping material. Cut tubular gaskets or vinyl strips with sharp utility shears. If using metal V-strips or aluminum-backed door sweeps, use aviation snips or a fine-tooth hacksaw to achieve clean, square end cuts.
3. Install Top and Side Seals
Position the weatherstripping against the frame stop so it creates a firm, continuous compression seal against the door slab when closed, without preventing the latch from engaging smoothly. If using adhesive-backed products, press the strip firmly along the frame in short sections. For nail-on or screw-in metal systems, drive fasteners every four to six inches, starting from the center and working toward the corners.
4. Adjust the Threshold and Mount the Sweep
Inspect the bottom threshold plate before attaching the door sweep. Most modern exterior thresholds feature adjustable tension screws along the top cap. Turn these screws counterclockwise to raise the cap until it makes light contact with the flexible sweep or bottom vinyl bulb seal. Next, attach the door sweep along the interior or exterior bottom face of the door leaf so the flexible fins sweep gently across the threshold without dragging heavily against floor coverings.
Troubleshooting Common Sealing Issues
If a door remains drafty or becomes exceptionally hard to latch after applying new weatherstripping, the issue often stems from structural misalignment or hardware binding rather than the seal itself.
When a door slab sags on its hinges, the gap width becomes uneven, tight at the top latch corner and wide at the bottom hinge side. Applying thick foam to a narrow gap forces the hinges to bind, stressing internal frame screws. In these instances, tightening top hinge fasteners, inserting cardboard hinge shims, or squaring the frame must precede weatherstrip installation.
When structural movement, warped slabs, or damaged jambs prevent standard seals from making contact, searching for professional door repair near me connects you with skilled technicians capable of resetting frames, replacing thresholds, and restoring full weatherproofing performance before harsh winter conditions arrive.
Seasonal Care and Longevity
Extending the working lifespan of your new door seals requires minimal ongoing attention throughout the winter months:
- Clean rubber and vinyl gaskets twice a year with mild soapy water to remove dirt that causes micro-abrasions.
- Apply a light coat of silicone spray lubricant to rubber seals in late autumn to prevent freezing and sticking during ice storms.
- Inspect the bottom sweep monthly for trapped ice, road salt, or grit that can tear flexible fins.
- Check perimeter latching force quarterly, adjusting the strike plate as needed to maintain tight seal compression.
By taking a systematic approach to identifying leaks, selecting resilient materials, and executing a clean installation, you can effectively seal your front door against winter draft intrusion, maintaining a warmer, more energy-efficient home environment.